Drilling Tips & Techniques
Here's how to use your new KnKut Drill Bits and how to keep them in the best working condition. Just follow these easy steps anytime you use your bits. The more you practice correct drilling techniques, the more holes and longevity you will get from your bits.
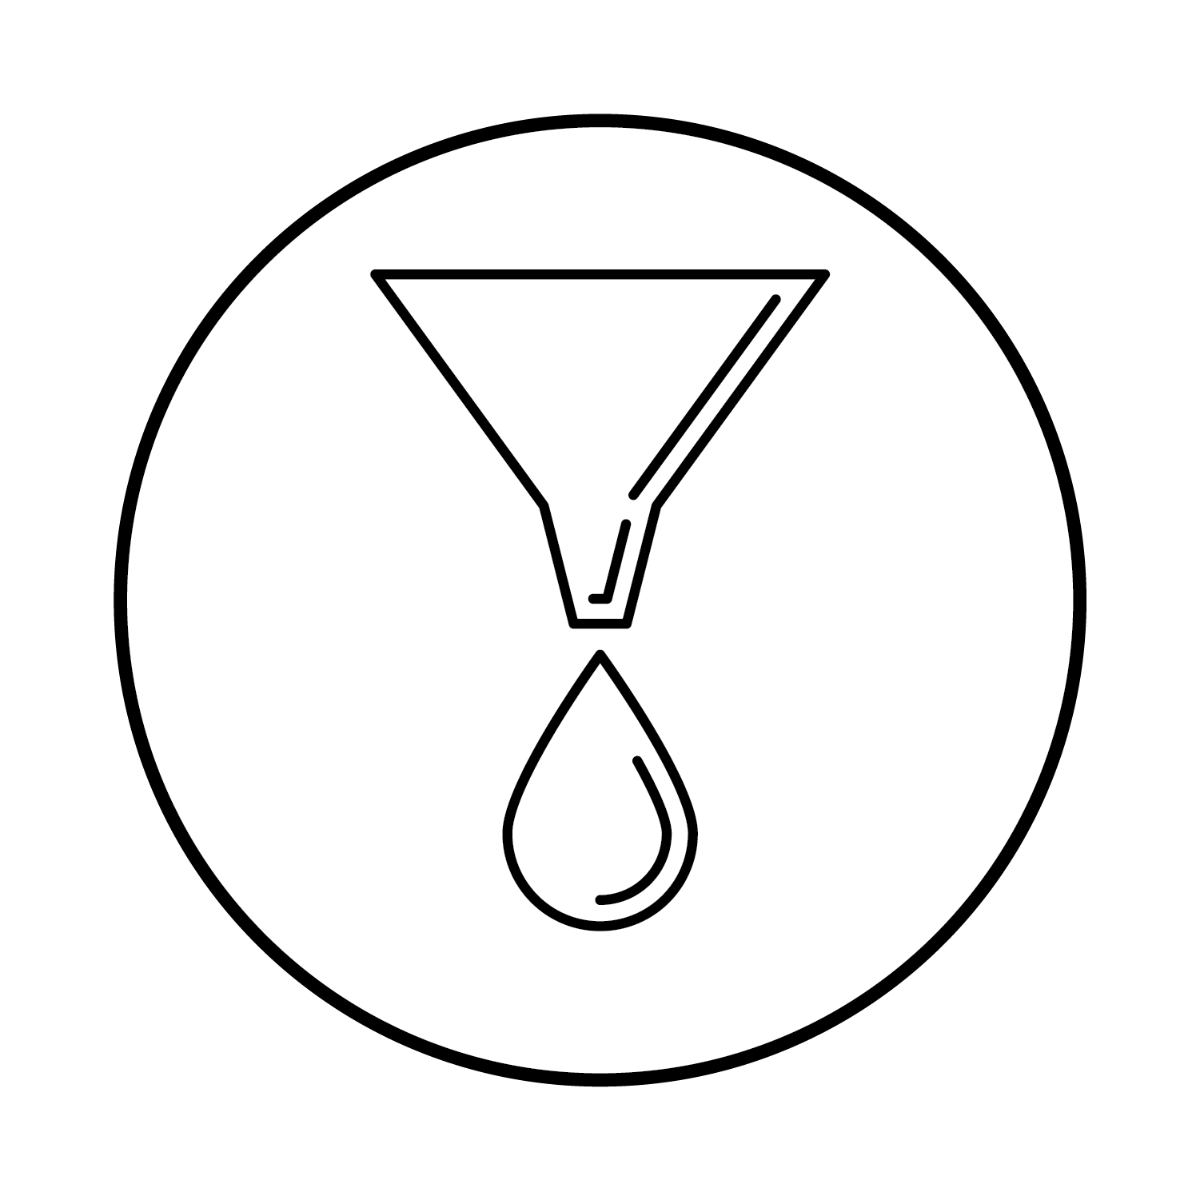

- Use cutting oil
- Keep your drills sharp
- Make sure to tighten all three holes on the chuck
- Press bit firmly against the surface to be drilled before starting the drill
- Remember...pressure is directly related to the hardness of the material being cut (Hard Material = More Pressure)
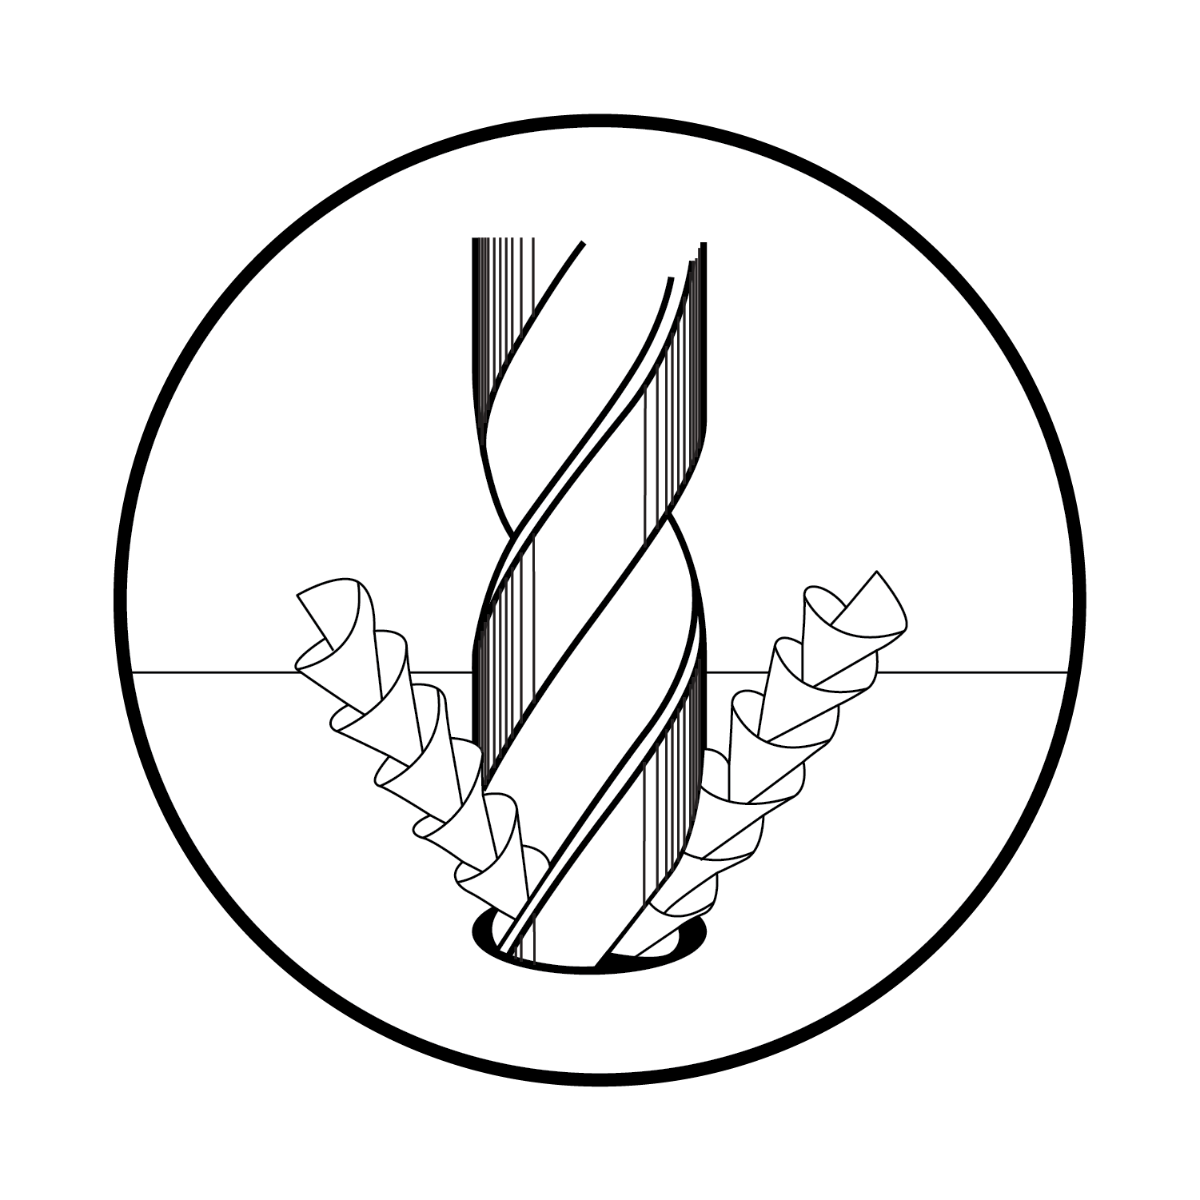
- RPM's relate to the size of the bit and the material being cut (Correct pressure and RPM's result in a continuous strand of material exiting the hole. Look for it!)
The more you practice correct drilling techniques, the more holes you'll get from your bits.
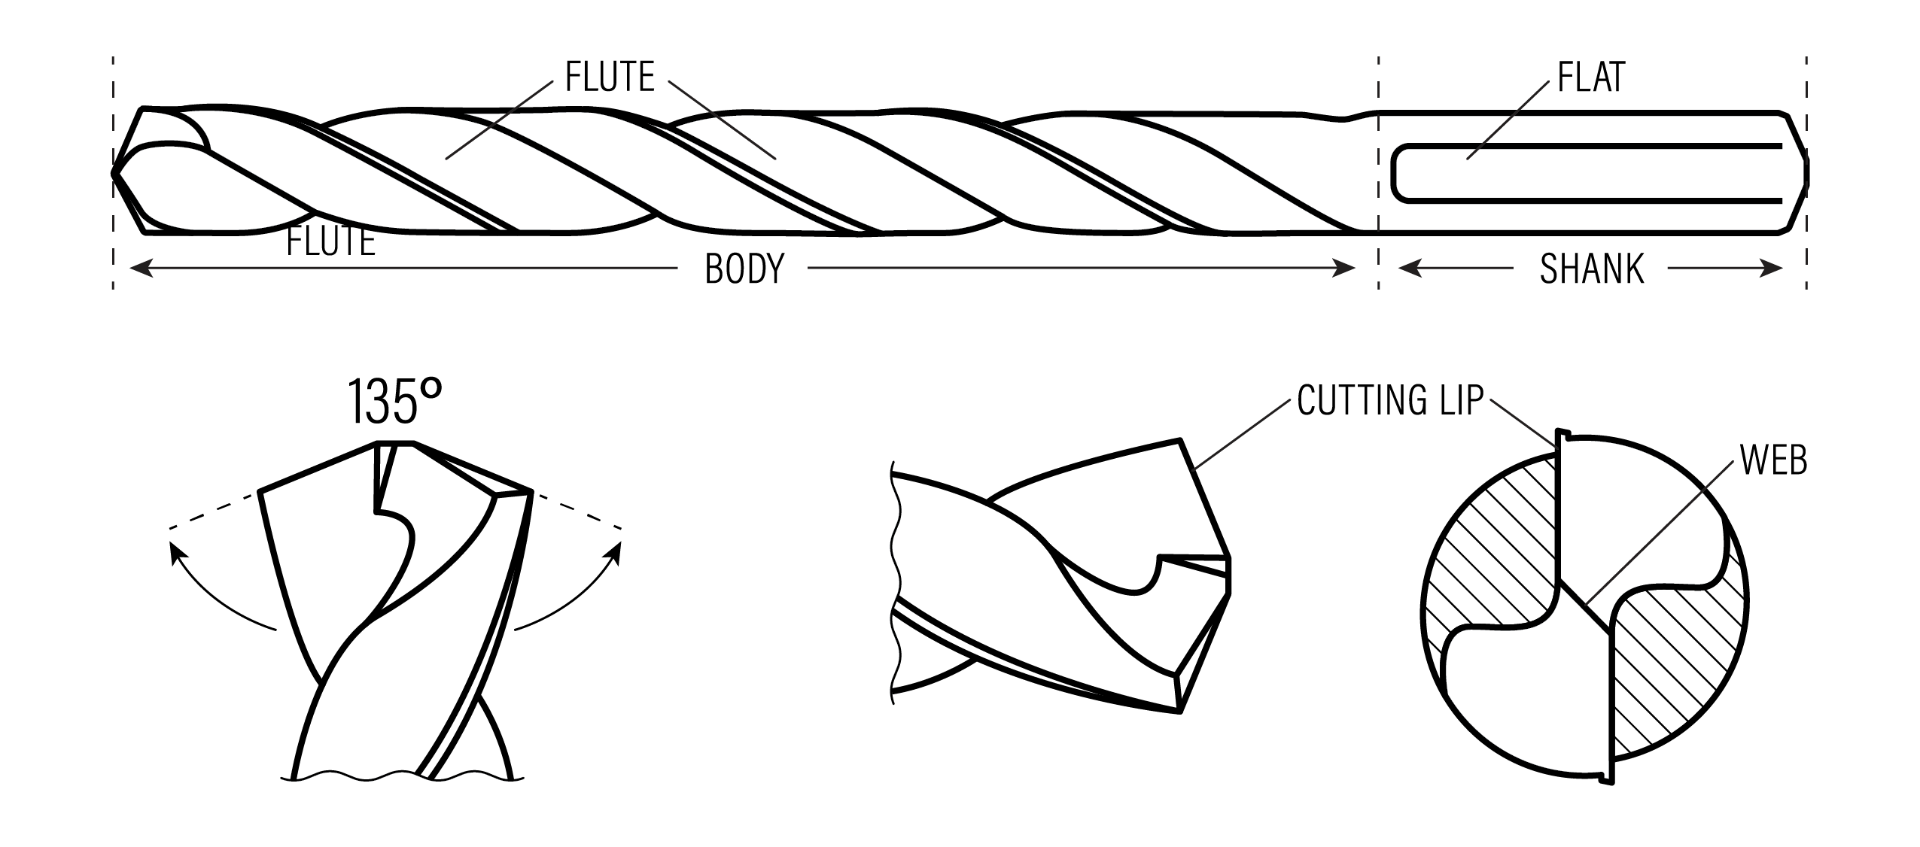
- Start by placing the bit into your chuck. Tighten all three holes on the chuck. Each hole is designed to tighten only the jaws it lays between. NOTE: By tighten all three holes, the drill bit will be less likely to slip in the chuck. If you have a keyless chuck, make sure you align the flats of the drill bit (if applicable) with each jaw before tightening.
- Use cutting fluid when drilling or tapping ferrous or non-ferrous metals to keep your drill bit or tap cool and lubricated. This will make your cuts more precise and increase the longevity of your cutting tools.
- Press drill bit firmly against the surface you are going to drill. DO NOT start the drill motor before placing the bit on the material. This can cause the drill bit to snag or bite incorrectly causing your bit to dull quicker and your hole to be off-line.
- DO NOT use KnKut Drill Bits to enlarge existing holes. Drill bits are not designed to enlarge existing holes. When force is exerted on the outer cutting lips (the weakest part of the bit), the bit could chip and ultimately fail. Many users insist on drilling pilot holes prior to drilling the final desired hole size. Split point drill bits eliminate the need for pilot hole drilling. If the material does require a pilot hole, it is important to drill the smallest possible hole so that only the bit's chisel point engages the material. You will void your warranty if KnKut Drill Bits are used in this manner.
- The amount of pressure required to drill a hole in the material directly relates to the hardness of the material being cut. Most materials, i.e.: aluminum, plastics, steels, stainless steels, will produce a continuous strand of material exiting the hole. Materials such as wood or cast iron will produce small broken pieces of material as it exits the hole.
- The size of the drill bit and the material being cut determine how fast (RPM's) you should run your drill. If using a stationary drill with adjustable RPM's and feed rates, refer to KnKut's speed and feed chart to determine proper parameters to run your drill and bits. If using a hand held drill, the user must rely on "feel" as the rule of thumb. The more practice you have drilling with the proper techniques, the more you will get out of your drill bits. NOTE: Keep an eye on the chip coming out of the hole as you drill by hand. Refer to back to #5 to produce the ideal chip from your drill bit.
- Drill Bits last longer and work better when they are kept sharp and used properly.